How to Create Workflows in HubSpot

Written by
Good Team
Created on
January 4, 2024
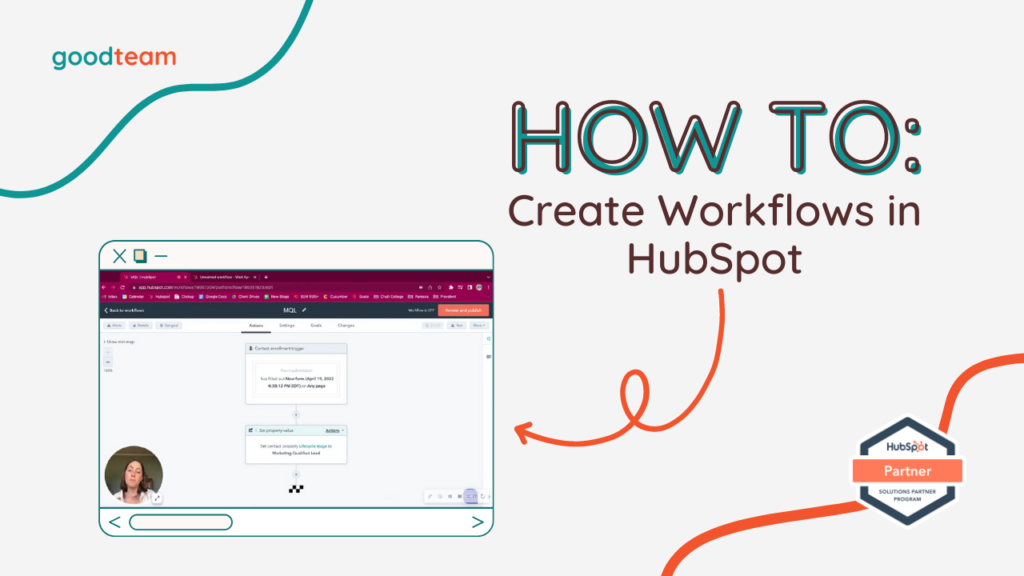
How to Create Workflows in HubSpot
Here are the steps to create workflows in HubSpot:
- Access workflows by clicking Workflows at the top of the HubSpot page.
- Create a new workflow by clicking Create workflow. Name your workflow, choose your workflow settings, and click Next in the top right hand corner.
- To start off your workflow, click Set up triggers. Then, determine how a contact enters this workflow by choosing a type of enrollment trigger. Customize the trigger by filling out all the necessary fields for that trigger type.
- When you have filled in the necessary information, click Apply filter to save.
- To make a new action, click the + icon below the enrollment trigger content box.
- Scroll through the list of options and choose an action.
- Set the property value by selecting the Target property type, Property to set, and any additional information you may need to enter.
- To add a Delay, click the + icon. In the list of available actions, find the Delay section and choose from the Delay options.
- Set the amount of time you want to delay.
- You can add more actions to your workflow using that + icon.
- To test your workflow before it goes live, click Test at the top of the page.
That’s it! Now you know how to create workflows in HubSpot!
What is Good Team?
Good Team is a HubSpot Partner Agency, as a Certified Solutions Partner with HubSpot we are committed to helping companies grow better. We do that in many ways: Management, Projects, Support, or Resources.
Fill out the form below to access our 40-point DIY HubSpot Audit with Videos!
Get Your Free DIY 40-Point HubSpot Audit with Videos!

